This document assumes you already know your password and just want to change your password or update your security questions.
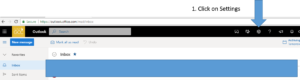
1. Log into https://pwreset.genesee.edu by choosing the Change Password / Log In option.
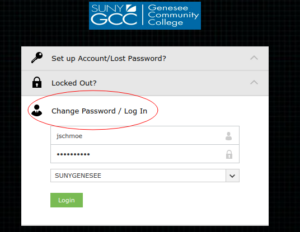
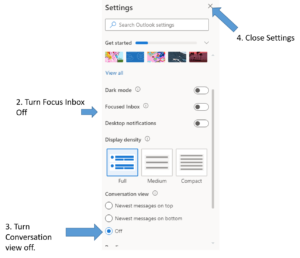
2. If you’d like to change your password, you may do so on this screen:

3. If you’d like to change your security questions, you can click the Enrollment tab at the top of the screen, then View my security questions, and then Modify.
 — or click the link that says “Install Office 2016” [it may change!]
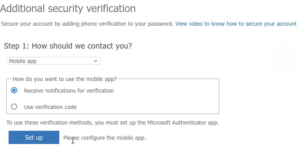
![Text of screen shot: Additional security verification. Secure your account by adding phone verification to your password. View video to know how to secure your account. Step 1: How should we contact you? [Select field is displayed with 'authentication phone' selected, 'Unitect States (+1)' selected as the country code, and the phone number field blank. Radio buttons are shown to select the Method. 'Send me a code by text message' is selected, 'Call me' is unselected.] The submit button is labeled 'Next.' Below the submit button is the following help text from Microsoft: 'Your phone numbers will only be used for account security. Standard telephone and SMS charges will apply.'](https://hd.genesee.edu/wp-content/uploads/2021/12/MFA-3a-300x174.png)
![Text of screen shot: "Configure mobile app. Complete the following steps to configure your mobile app. 1. Install the Microsoft authenticator app for Windows Phone, Android or iOS. 2. In the app, add an account and choose 'Work or school account' [the phrase is circled on the screenshot]. 3. Scan the image below. [A QR code is displayed.] If you are unable to scan the image, enter the following information in your app. Code: [a 9-digit sample code is shown.] If the app dipslays a six-digit code, choose 'Next.'" The submit button is labeled 'Next'.](https://hd.genesee.edu/wp-content/uploads/2021/12/MFA-3c-300x246.png)
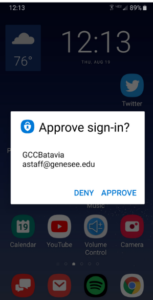
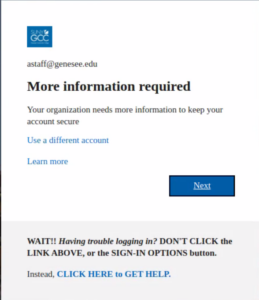
![The 'Enter code' screen displayed when authenticating using a code provided by either text message or voice call. A GCC logo is displayed, followed by the login ID you are using. The screen reads: "Enter code. We texted your phone +X xxxxxxxxxx. Please enter the code to sign in.' [code field, empty, followed by checkbox (selected) labeled 'Don't ask again for 90 days.'] Having trouble? Sign in another way. [use the GCC link given below, instead]" The submit button is labeled 'Verify.' Below the submit button is help text for GCC users: "WAIT!! Having trouble logging in? DON'T CLICK the LINK ABOVE, or the SIGN IN OPTIONS button. Instead, CLICK HERE to GET HELP.' (Use the link in this text instead of the help links above.)](https://hd.genesee.edu/wp-content/uploads/2021/12/MFA-5b-219x300.png)


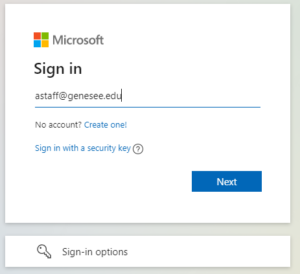
 looks like NetID@genesee.edu.
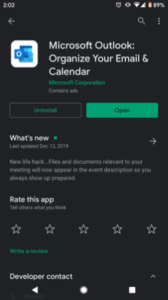 Step 1: Download and install the
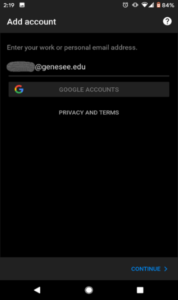
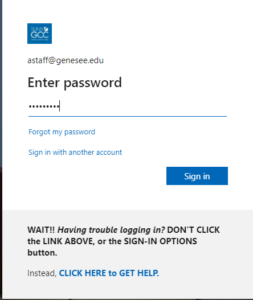
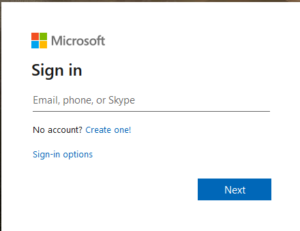
 GCC NetID@genesee.edu [Be sure to use your NetID, not your GCC email address]. Click Continue
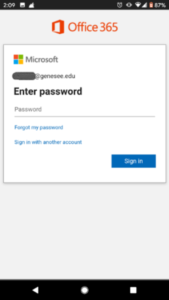
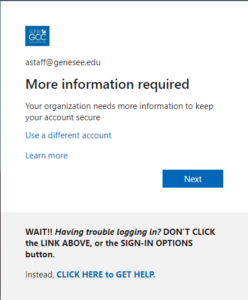
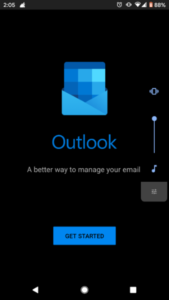
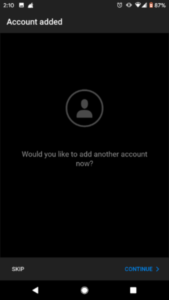 Step 4: If asked to set up another account, click Skip