(as of 1/10/2022)
To improve the security of your accounts, GCC is adding Multi-Factor Authentication (MFA) to the process you follow when logging into your GCC email (faculty and staff only) and myGCC (everyone). In short, MFA provides another layer of identity verification beyond your password. This document explains how to setup MFA, then how to utilize it subsequently when you log in. NOTE: MFA IS ONLY UTILIZED WHEN LOGGING IN TO A NON-GCC COMPUTER OFF CAMPUS.
HOW TO SET UP MFA
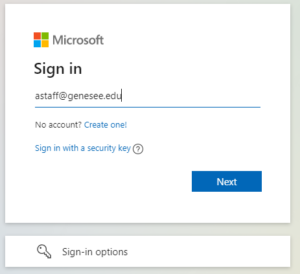
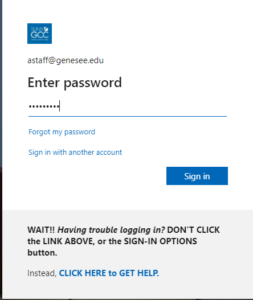
- Open a browser and navigate to https://outlook.live.com/owa/. Click ‘Sign In. Enter your GCC in the format NetID@genesee.edu, click “Next”, then on the next window enter your password and click “Sign in”.
- STUDENTS: Note that you must use NetID@genesee.edu for logging in to myGCC going forward. The format of your GCC email will remain NetID@my.genesee.edu
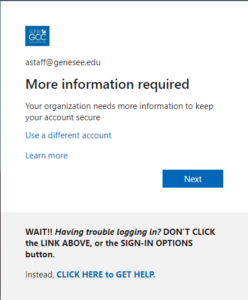
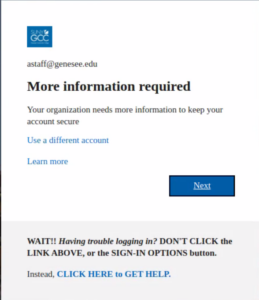
- The More information required window appears. Click “Next”
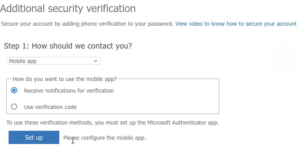
- At this point, you’ll need to tell Microsoft how you’d like them to contact you for MFA. You can change this decision down the road. One option is to have Microsoft text or call your phone and give you a six digit code. Select “Authenticator phone” and “United States” from the dropdowns, enter your phone number, and then select a “Method” (Send text or call). Click “Next”. You will receive a code from Microsoft; enter it on the next page.
![Text of screen shot: Additional security verification. Secure your account by adding phone verification to your password. View video to know how to secure your account. Step 1: How should we contact you? [Select field is displayed with 'authentication phone' selected, 'Unitect States (+1)' selected as the country code, and the phone number field blank. Radio buttons are shown to select the Method. 'Send me a code by text message' is selected, 'Call me' is unselected.] The submit button is labeled 'Next.' Below the submit button is the following help text from Microsoft: 'Your phone numbers will only be used for account security. Standard telephone and SMS charges will apply.'](https://hd.genesee.edu/wp-content/uploads/2021/12/MFA-3a-300x174.png)
Another option is to use the Microsoft Authenticator app. Download this app ahead of time from your phone’s app store. To use this option, choose “Mobile App” from the dropdown and select Receive notifications for verification. Click Set up.
Follow the directions on the next screen to link your phone, Authenticator app, and account. Open the app on your phone, touch “Add an account”, choose “Work or school account”, and then “scan QR code”. You will scan the QR code with your phone. Once the QR code is scanned, your app will be linked. Click “Next” on your computer.
![Text of screen shot: "Configure mobile app. Complete the following steps to configure your mobile app. 1. Install the Microsoft authenticator app for Windows Phone, Android or iOS. 2. In the app, add an account and choose 'Work or school account' [the phrase is circled on the screenshot]. 3. Scan the image below. [A QR code is displayed.] If you are unable to scan the image, enter the following information in your app. Code: [a 9-digit sample code is shown.] If the app dipslays a six-digit code, choose 'Next.'" The submit button is labeled 'Next'.](https://hd.genesee.edu/wp-content/uploads/2021/12/MFA-3c-300x246.png)
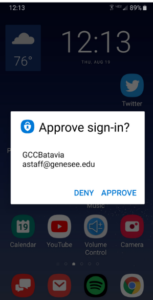
On the next page, you should see the message: “Mobile app has been configured for notifications and verification codes”. Click “Next”. Microsoft will send a notification to your phone; you should be able to select “Approve”. You’re all linked up!
- At this point, you may be asked to re-validate your phone number. Follow the directions on the screen.
Congratulations! You’re done setting up MFA! You won’t need to perform these steps again! - The next time you attempt to log in, the “More information required” window will appear again. This is Multi-Factor Authentication in action! You’ll see this on any new device you log into from off-campus. Click “Next”.
Depending on how you chose to get contacted, you’ll get slightly different screens here. The important thing to note is the message “Don’t ask again for 90 days”. This means that you won’t be challenged again on this device for 90 days. Follow directions and you’re in!
![The 'Enter code' screen displayed when authenticating using a code provided by either text message or voice call. A GCC logo is displayed, followed by the login ID you are using. The screen reads: "Enter code. We texted your phone +X xxxxxxxxxx. Please enter the code to sign in.' [code field, empty, followed by checkbox (selected) labeled 'Don't ask again for 90 days.'] Having trouble? Sign in another way. [use the GCC link given below, instead]" The submit button is labeled 'Verify.' Below the submit button is help text for GCC users: "WAIT!! Having trouble logging in? DON'T CLICK the LINK ABOVE, or the SIGN IN OPTIONS button. Instead, CLICK HERE to GET HELP.' (Use the link in this text instead of the help links above.)](https://hd.genesee.edu/wp-content/uploads/2021/12/MFA-5b-219x300.png)
IMPORTANT! If you need to add to or modify your MFA contact options:
- Go to https://aka.ms./mfasetup
- Sign in with netID@genesee.edu and password.
- You will have to approve this sign in request using the MFA method you selected during set up