(last updated 3/19/2020)
All Users (EXCEPT Student Success Center-based staff)
- Dial GCC’s main number: 585-343-0055
- When Auto Attendant starts, dial 6400
- Enter your extension number, followed by the # key
- Enter your password, followed by the # key
- To Play/Listen to messages, press 2
- To Go to the Next Message, press 6
- To Delete a message, press 76
Student Success Center-Based Staff ONLY
- Dial GCC’s main number: 585-343-0055
- When Auto Attendant starts dial 5400
- When prompted to enter the extension of the person you are trying to reach, press the # key
- When prompted for a mailbox number, enter your extension
- Enter your security code
- To Play/Listen to messages, press 1
- To Delete a message, press 4
- To Review a message, press 6

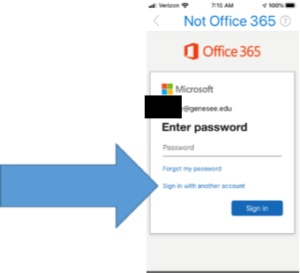
 looks like NetID@genesee.edu.
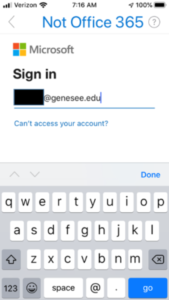
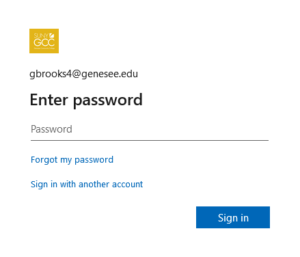
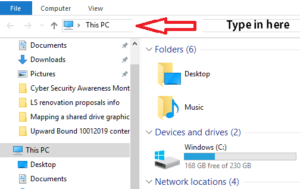
 Step 1: Download and install the
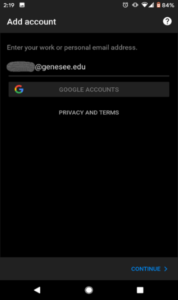
 GCC NetID@genesee.edu [Be sure to use your NetID, not your GCC email address]. Click Continue
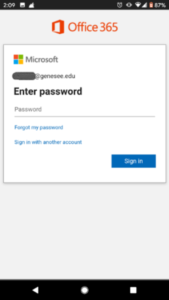
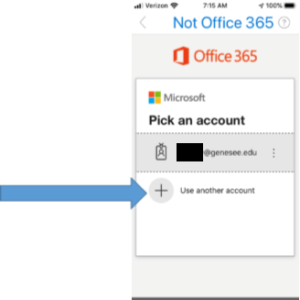
 Step 4: If asked to set up another account, click Skip


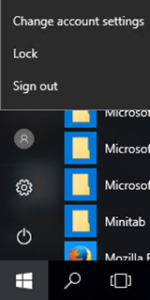
 up menu, click on the person icon, and select Sign Out.