(last update 1/4/2023)
NOTE: This remote access system does NOT support Chromebooks or the Chromebook operating system.
1. To work remotely, you will need to request access by creating a Help Desk ticket.
You will be notified by a SNOW (Help Desk ticket) email when your computer is ready for remote access. At the end of the email there will be a Resolution Note that informs you of your computer name. Be sure to click on the email link to accept the resolution so Computer Services is aware of the status of your request.
Mac computer users: Please note that you will first need to download and install the following free Remote Access app from the Apple Store before proceeding. https://apps.apple.com/us/app/microsoft-remote-desktop-10/id1295203466?mt=12
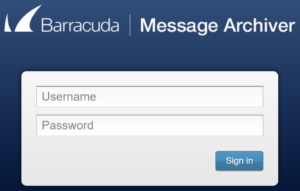
2. When you have been notified that you are ready for remote desktop connections, open an internet browser (Chrome/Firefox/etc.) on your personal computer or laptop and go to https://sra.genesee.edu. You will see:
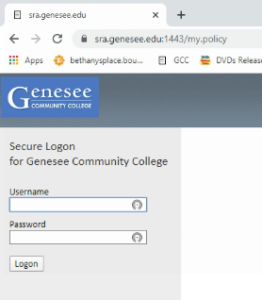
3. Log in with your GCC NetID and your password (the same information you use to log into your computer.
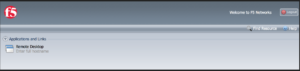
4. Click on the Remote Desktop icon to retrieve a custom one-time use package to connect to your desktop.
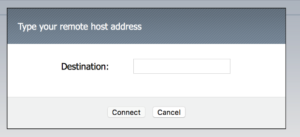
5. Enter your computer name (Computer Name.genesee.edu) as the Destination, and click the Connect button.
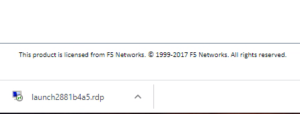
6. Locate the Launch file ending in .rdp that appears in the bottom left of your screen. Click the button and select Open.
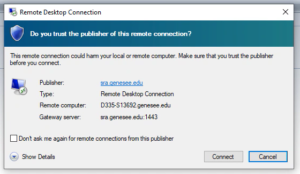
7. A Remote Desktop Connection window will appear. Click Connect to start your remote desktop session.
8. You will only have access to ONE screen from your computer.
9. The computer in the office will not display your work. It will show the background that you have set as your desktop before you log in.
10. You will have access to all the resources and devices that you have in the office. If it is a physical device like a scanner, you will see it, but since you are not in the office, you cannot use it.
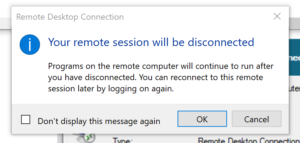
11. When you are done working remotely, you need to close your session by clicking the X on the blue bar at the top of the screen. The following will pop up confirming you want to disconnect. Click OK.
NOTE: Be careful NOT TO SHUT DOWN your office computer when you are done for the day. Only “log off.” If you shut down your office computer, you will not be able to remote access again without Campus Safety having to make a special trip to your office to power on your computer again.
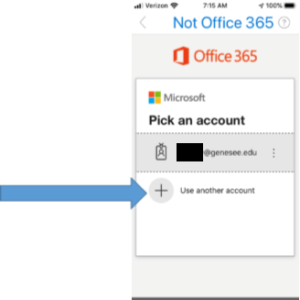
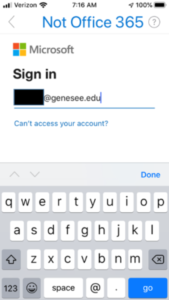
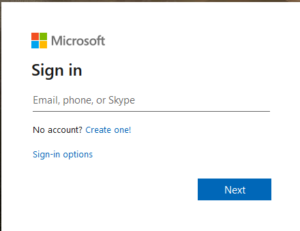 looks like NetID@genesee.edu.
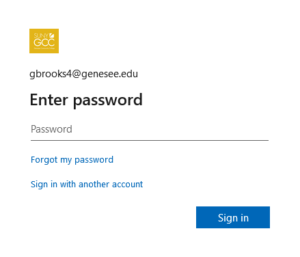
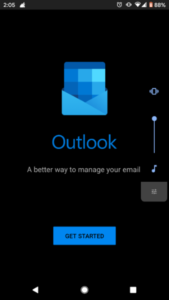
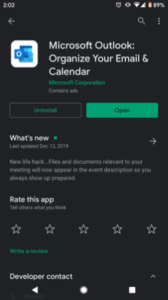 Step 1: Download and install the
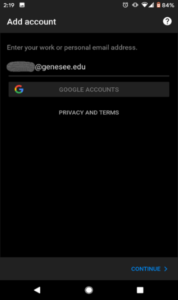
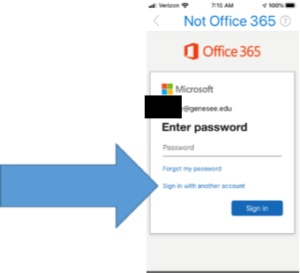
 GCC NetID@genesee.edu [Be sure to use your NetID, not your GCC email address]. Click Continue
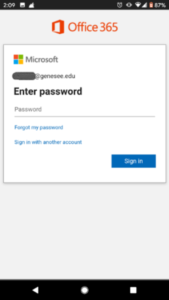
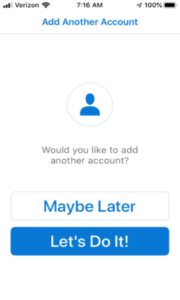
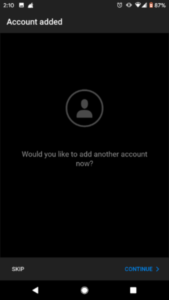 Step 4: If asked to set up another account, click Skip